Awesome! You’re officially joining the ranks of the safety-conscious drivers out there. Dash cams are like having an extra pair of eyes on the road, and honestly, they can be lifesavers (sometimes literally!). But now you’re probably staring at this box with wires and wondering, “How in the world do I install this thing?”
Don’t worry, I’ve got you covered. Installing a dash cam might seem intimidating, but it’s actually way easier than you think. Think of it like putting together a bookshelf from IKEA… but with fewer steps and way less frustration. 😉
Let’s Gather Your Tools First
Before we dive in, let’s make sure you have everything you need. No one wants to be halfway through installation and realize they need to make a trip to the store! Here’s your checklist:
- Your new dash cam (duh!): Hopefully, this one is obvious. 😄
- The dash cam’s user manual: I know, I know, nobody reads those things. But trust me, it’ll come in handy for this project.
- A microSD card: This is where your footage will be stored. Make sure it’s the right type and capacity for your camera.
- A car charger adapter: Most dash cams come with one, but double-check just in case.
- Cable clips or zip ties: These will help you keep those pesky wires organized.
- A trim removal tool (optional): This can help you tuck wires away neatly without damaging your car’s interior. You can usually find one at an auto parts store.
Got everything? Great! Let’s get started.
Picking the Perfect Spot for Your Dash Cam
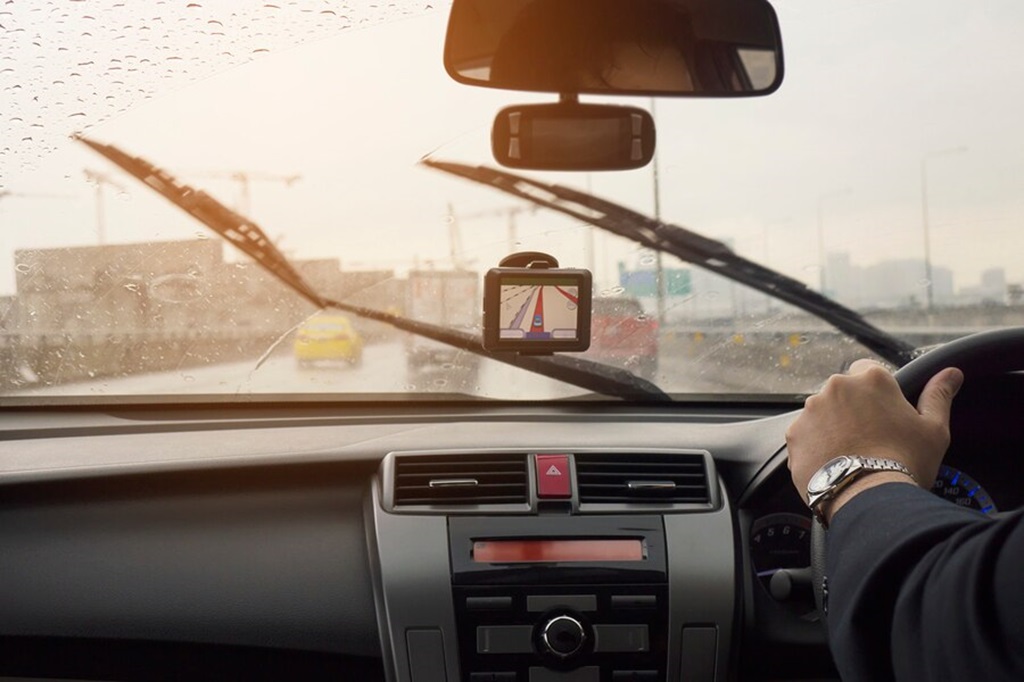
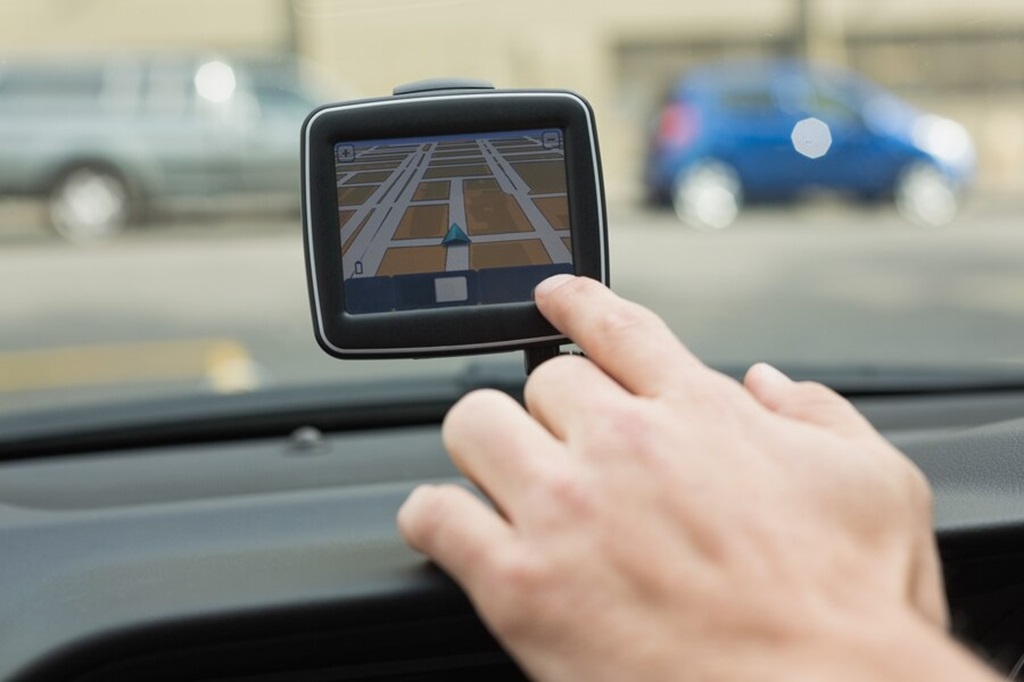
Placement is key when it comes to dash cams. You want it to have a clear view of the road ahead without obstructing your own vision. Think of it as finding the sweet spot for your phone when you’re using GPS – you need to see it, but it shouldn’t be blocking your view of the traffic light!
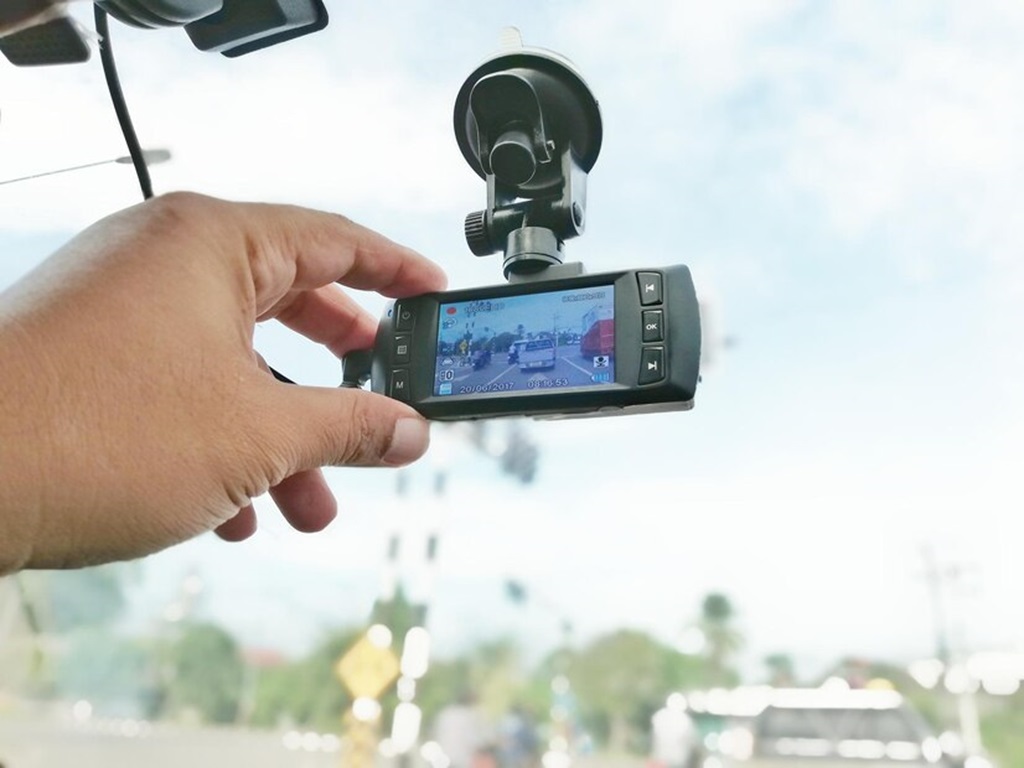
Most people mount their dash cam in the center of the windshield, just behind the rearview mirror. This usually gives the best, most unobstructed view. But hey, every car is different, so feel free to experiment a bit to find what works best for you.
Powering Up Your Dash Cam
Now, let’s talk about getting your dash cam juiced up. You have two main options here:
- Connecting to your car’s 12V outlet (cigarette lighter): This is the easiest option. Just plug in your car charger adapter and you’re good to go! It’s like charging your phone in your car – simple and convenient.
- Hardwiring to your car’s fuse box: This is a bit more involved, but it means your dash cam will be powered on all the time, even when your car is off (for parking mode recording). If you’re going this route, you might want to consult a professional installer or watch a few tutorials online first. Think of it like wiring a new light fixture in your house – it’s doable, but you need to be careful.
Time to Wrestle with the Wires!
Okay, here’s where things might get a little tricky – managing those wires. Nobody wants a jungle of cables dangling across their windshield, right?
- Start by connecting your dash cam to the power source: Whether you’re using the 12V outlet or hardwiring it, get that power connection sorted first.
- Route the cable along the edge of your windshield: Use those cable clips or zip ties to keep the wire neatly tucked away. You can usually hide it behind the trim of your windshield or along the headliner. Imagine you’re trying to hide a string of Christmas lights – you want them to be festive, not a tangled mess!
- Tuck the excess wire into your glove compartment or center console: This keeps everything nice and tidy.
Related: How Much Does a Dash Cam Cost?
Testing, Testing… 1, 2, 3
Alright, you’ve made it this far! Now it’s time to make sure everything is working as it should.
- Turn on your car: Does your dash cam power up? Awesome!
- Check the camera’s view: Is it positioned correctly? Can you see the road clearly? If not, adjust the camera’s angle until you get the perfect view.
- Record a short test video: This will help you make sure the camera is recording properly and the audio is working.
Congratulations, You’re Officially a Dash Cam Pro!
That’s it! You’ve successfully installed your dash cam. Give yourself a pat on the back. You’re now one step closer to safer driving and have some cool tech to show off to your friends.
Remember to format your microSD card regularly and check your footage every now and then to make sure everything is working as it should. And most importantly, drive safe out there!
Want to take your dash cam game to the next level? Consider these extra tips:
- Get a dual-channel dash cam: This records both the front and rear of your vehicle, giving you even more coverage. It’s like having eyes in the back of your head!
- Invest in a dash cam with Wi-Fi: This allows you to easily transfer footage to your phone or computer without having to remove the microSD card. Super convenient!
- Use a polarizing filter: This can help reduce glare and reflections in your footage, especially on sunny days. Think of it like sunglasses for your dash cam!


